Pending Equipment
Purchase Orders
Purchase orders are used to get new equipment into the system.
To create a PO:
- Click on the Administration Tab
- Click Create Pending Equipment under the Inventory & Equipment section
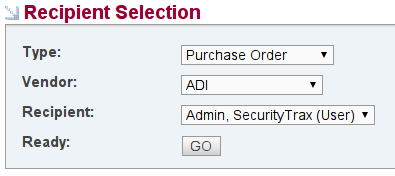
- Choose "Purchase Order" in the Type field
- Choose the appropriate vendor from the Vendor field
- Choose the appropriate recipient in the Recipient field
- Click GO
- Fill out the appropriate quantities and adjust your processing/retrieval methods as appropriate
- Click Save
Mark equipment as received and close a PO:
- Click on the Administration Tab
- Click Pending Equipment under the Inventory & Equipment section
- Click the ID to open a PO that has a Red circle on the left side. The circles and their colors are as follows:
- Red = Open PO that hasn't been reviewed
- Orange = PO that equipment has been recieved
- Green = PO is fullfilled and complete and closed

- Click the plus+ icon to edit the quantity of equipment you have received and then click save
- Now your PO will have an Orange circle next to it meaning it needs to be reviewed and closed
- Click the ID to open the same PO edit the quantities if needed and then at the top right click the Open/Closed button select closed and click save
- Now you will see that both circles are now Green and your PO has been fullfilled and closed
Return Merchandise
Return Merchandise can be used to send faulty/unneeded equipment back to your suppliers when appropriate.
To create an RMA:
- Click on the Administration Tab
- Click Create Pending Equipment under the Inventory & Equipment section
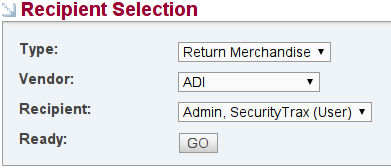
- Choose "Return Merchandise" in the Type field
- Choose the appropriate vendor from the Vendor field
- Choose the appropriate recipient in the Recipient field
- Click GO
- Add items as appropriate
- Click Save
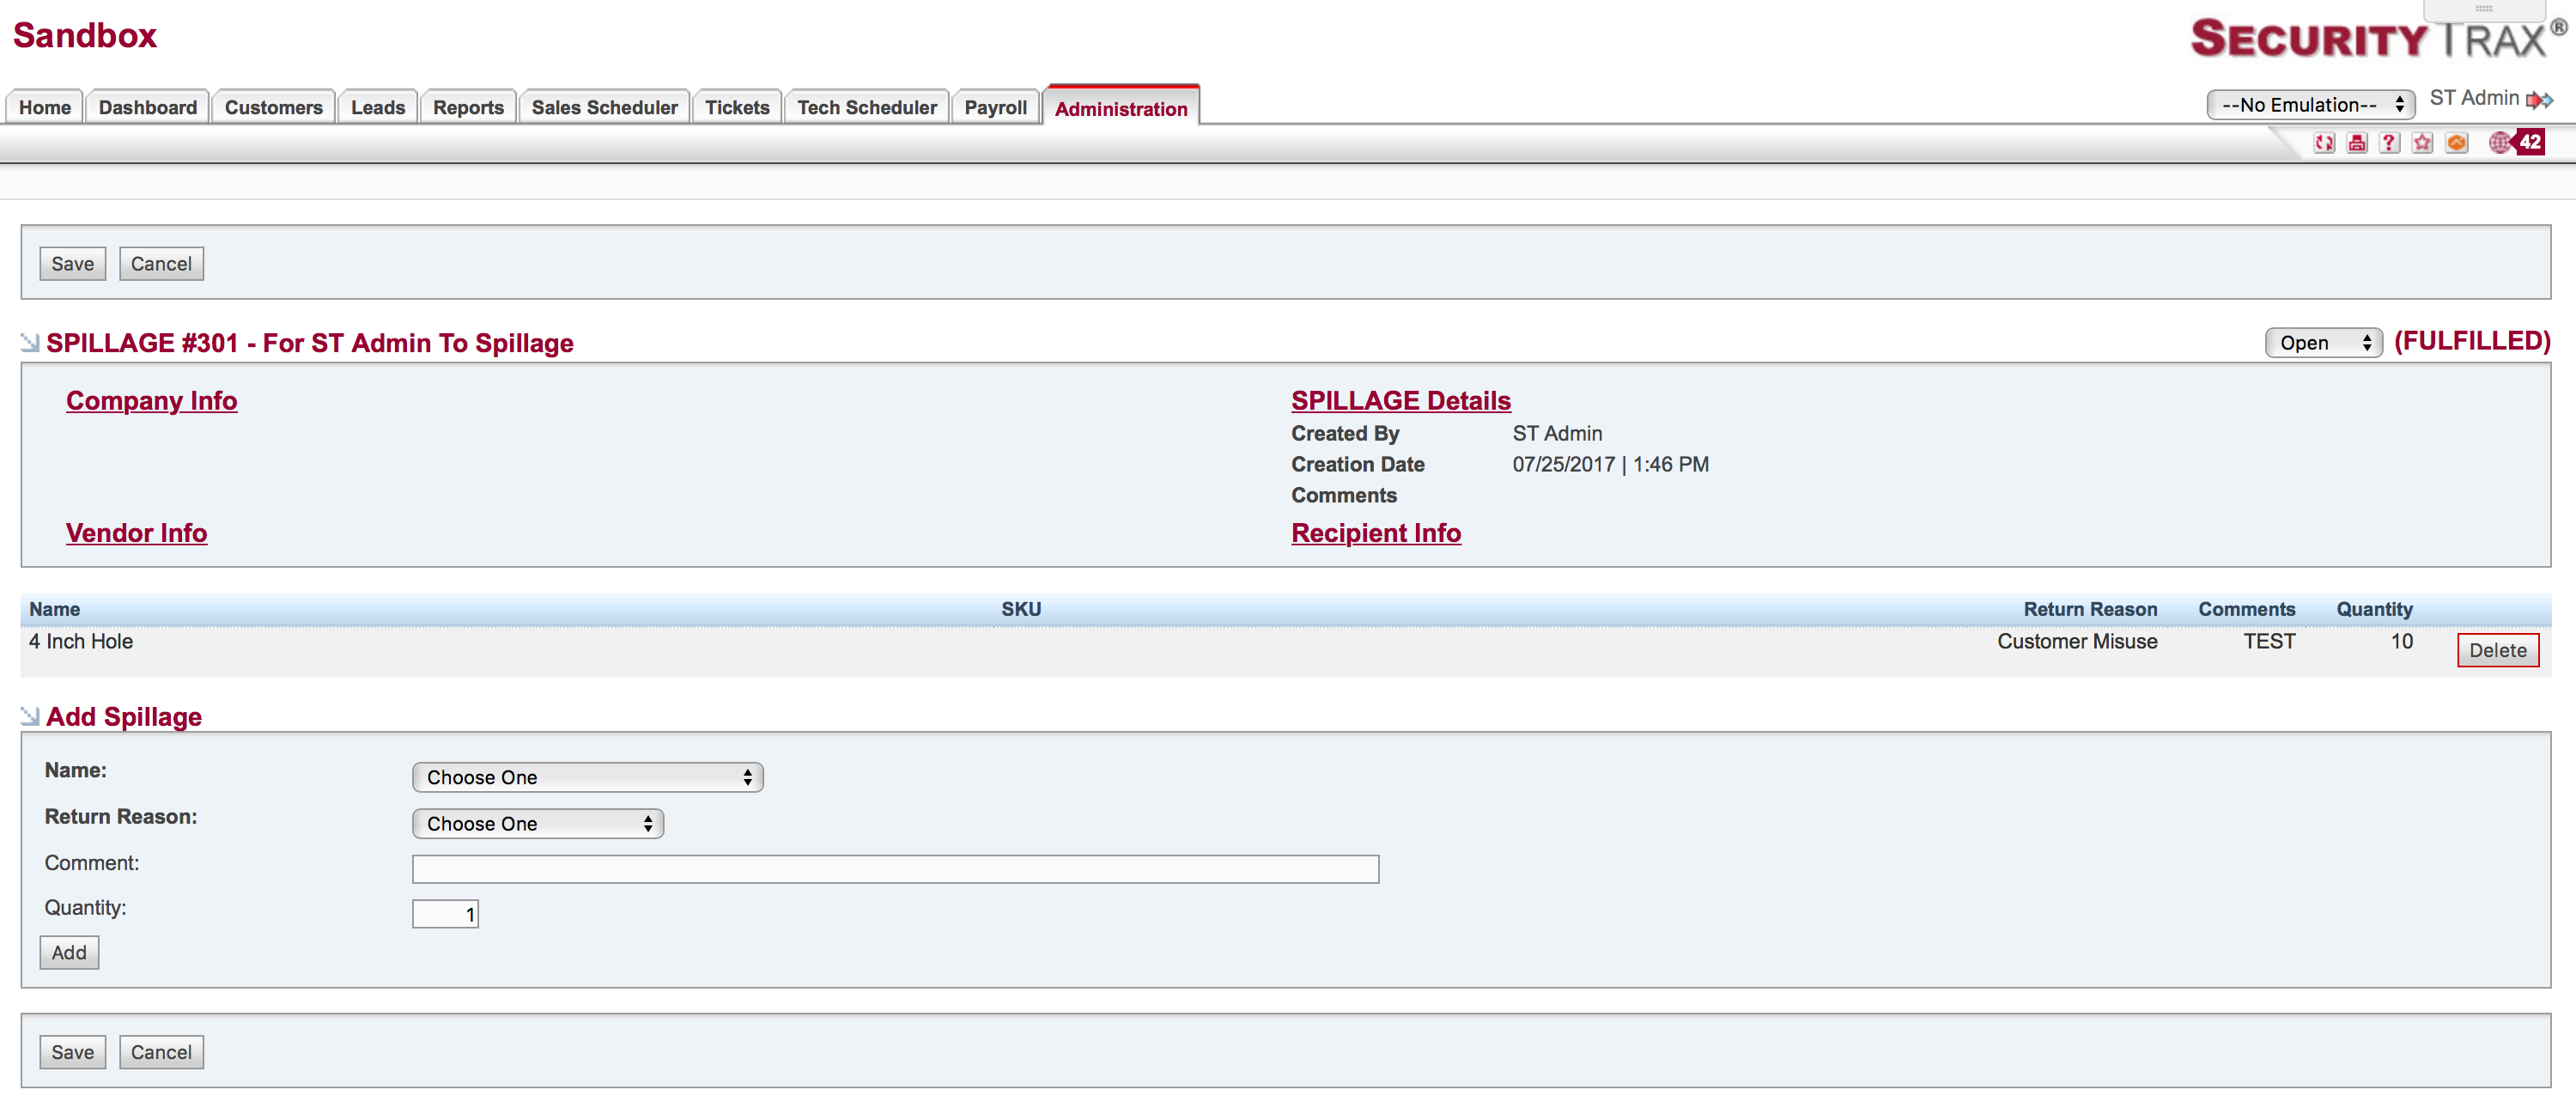
Spillage
Spillage reports are typically used as a means to remove faulty equipment from a recipient's on hand counts. They may also be used by a warehouse manager with the correct permissions if a technician brings back a bunch of defective equipment to the office with no explanation of the defect. A manager can then bulk spillage by type of equipment and edit the appropriate quantities.
Optionally, spillage can be used as a precursory step before creating a Return Merchandise report.
A typical workflow would involve recipients adding spillage to an open spillage report during a month (the time period can be adjusted as needed). After the given period of time an administrator can Lock the spillage report preventing further adjustments. At that time the recipient would then physically ship all the defective equipment back to the central warehouse, except lost or missing equipment. The items would then be reviewed by your back office and the spillage report could then be closed. Optionally, spillage reports can be converted to Return Merchandise reports for return to the appropriate vendor.
To create a Spillage Report:
- Click on the Administration Tab
- Click Create Pending Equipment under the Inventory & Equipment section
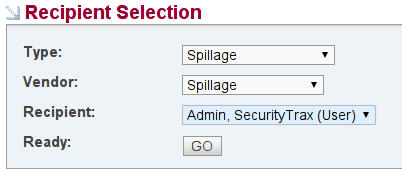
- Choose "Spillage" in the Type field
- Choose the Spillage vendor from the Vendor field
- Choose the appropriate recipient in the Recipient field
- Click Go
- Add items (and quantities if you have sufficient permissions)
- Click Save