4b) Creating Contract Templates Using the CLASSIC DocuSign Interface
Follow the steps below to create a contract template using the CLASSIC DocuSign interface.
- Ensure you have your contracts ready to upload in PDF format and they're saved in a location to which you have access.
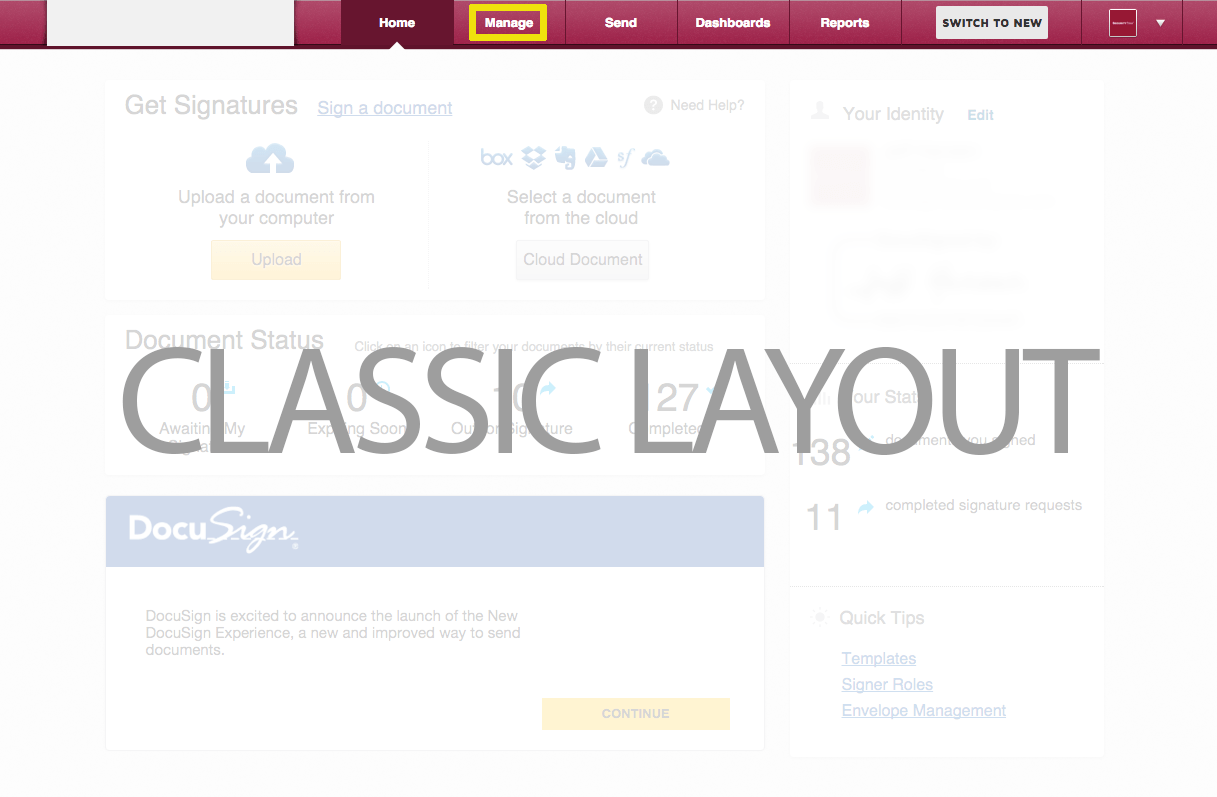
- Log into your DocuSign account
- Click 'MANAGE'
- Click the down arrow by 'Create' and select 'Template'

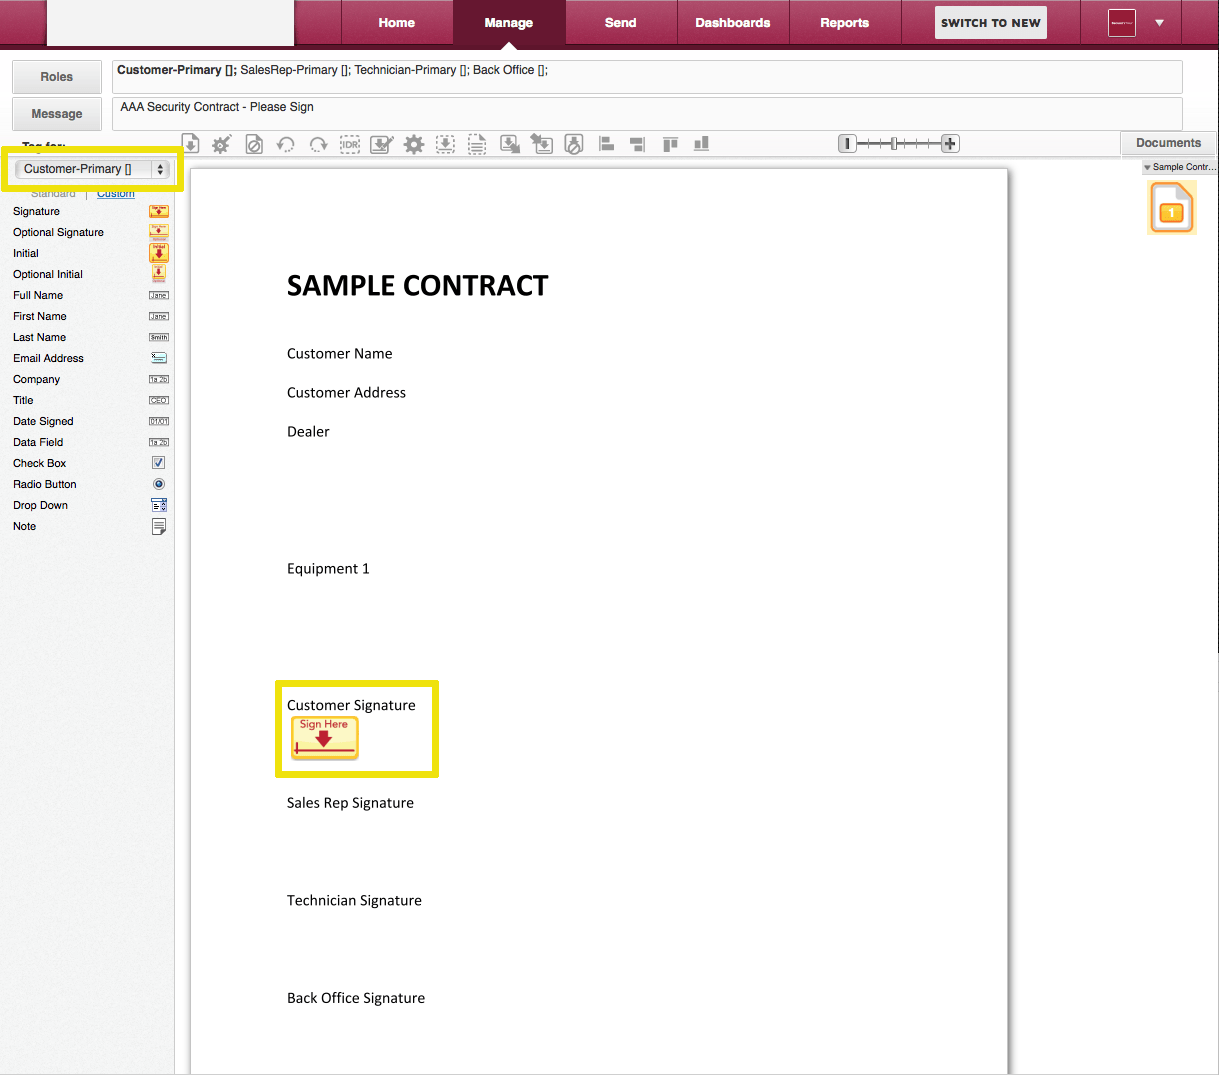
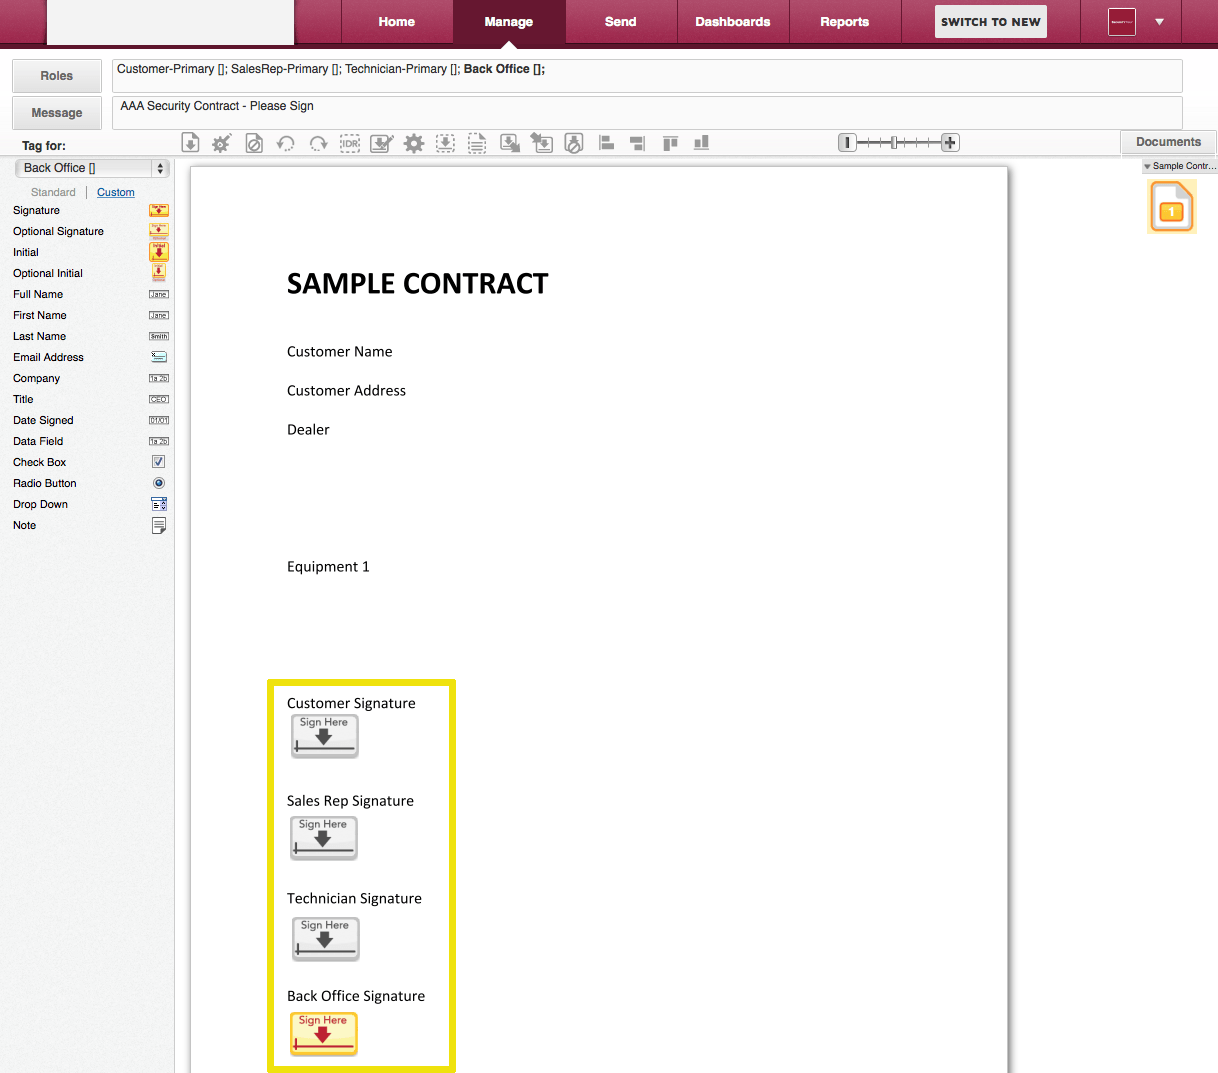
- Click 'Roles', enter the appropriate 'Recipient Role' name (see paragraphs and descriptions below), then click 'Add Signer'.
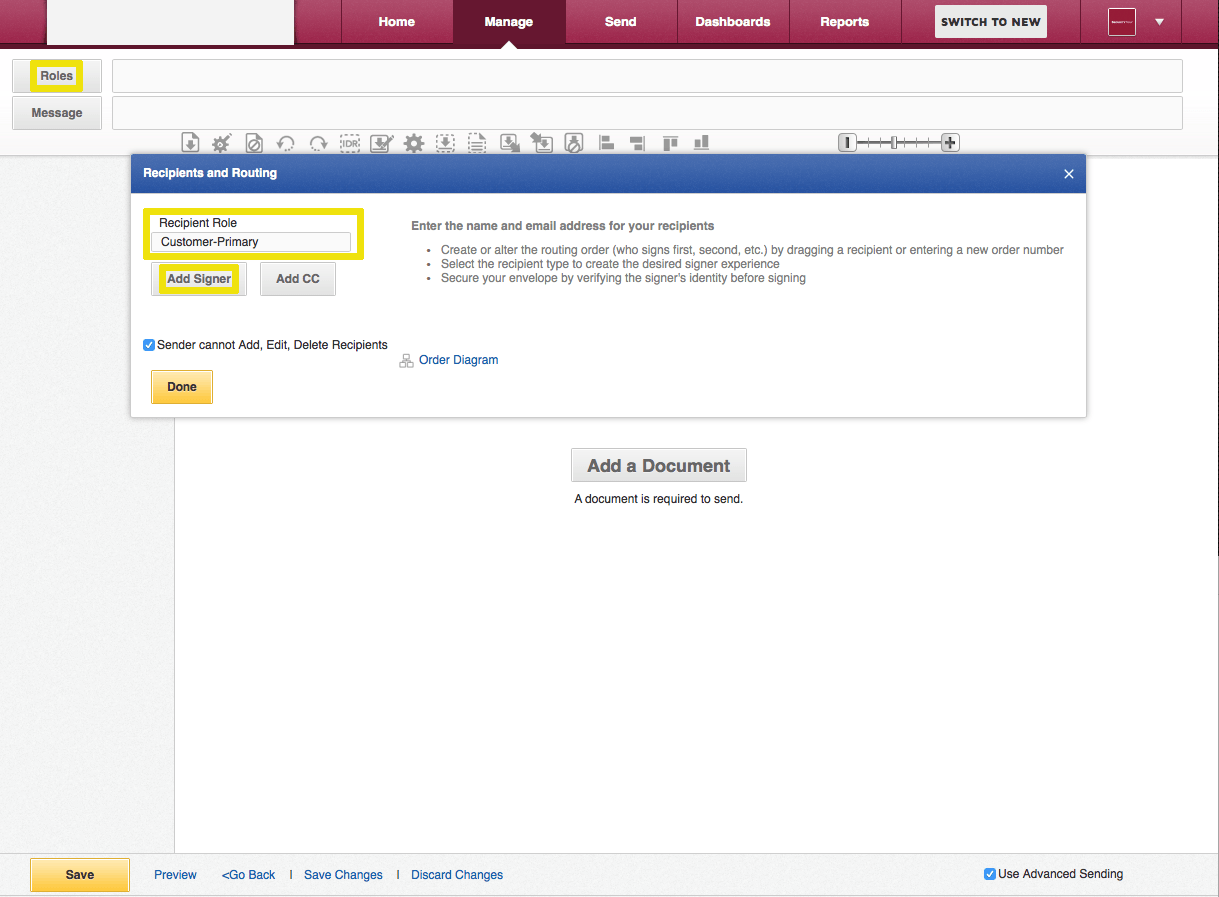
On the 'Recipients and Routing' pop up window you'll want to think through the order you wish to have signatures completed.
In our example below, we're going to have the Customer sign first, followed by the Sales Rep, Technician, then finalized by a Back Office recipient.
The order in which signatures are completed is up to you. Additionally, it's only necessary to have two signatures (customer and someone from your company) but you can have more signers if needed for your process.
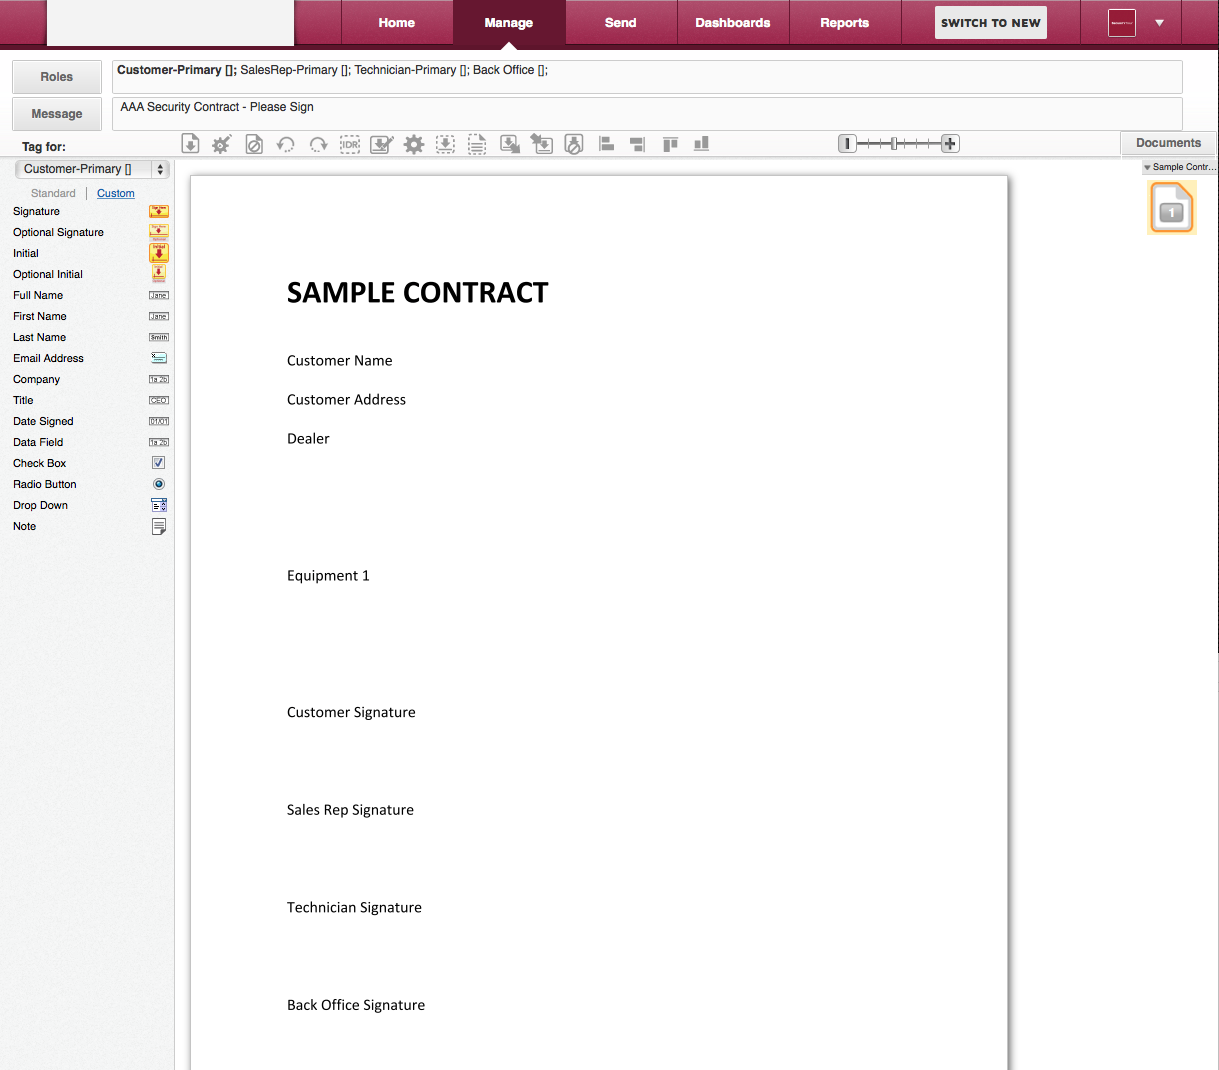
The correct name must be entered for the 'Placeholder'. These names tell SecurityTrax which actual names to use on the contract. (See list and image below for a description and example).
Customer-Primary
Customer associated with the account.
Customer-CC
Will prompt DocuSign to automatically send the Customer a copy of the completed contract. Select 'Receives a Copy' when creating the Recipient in DocuSign. Customer-CC should be your last Recipient.
SalesRep-Primary
Sales Representative associated with the Customer account.
Technician-Primary
Technican associated with the Customer account.
'Primary' or 'Secondary' help further define the signature order. For example, 'Customer-Primary' would sign first, then 'SalesRep-Primary', followed by 'Customer-Secondary' if your process requires the same signer to sign at different times during the contract process.
Back Office is where you'll enter 'dsbackoffice@youremail.com' created in a previous step.
Change the order in which signatures will take place by typing the desired sequence in the fields below the 'Order' header.
In our example, the Back Office recipient could be changed to 'Receive a Copy' instead of 'Sign'. If this were the case in our example, the contract would be finalized when the Techncican signed the contract.
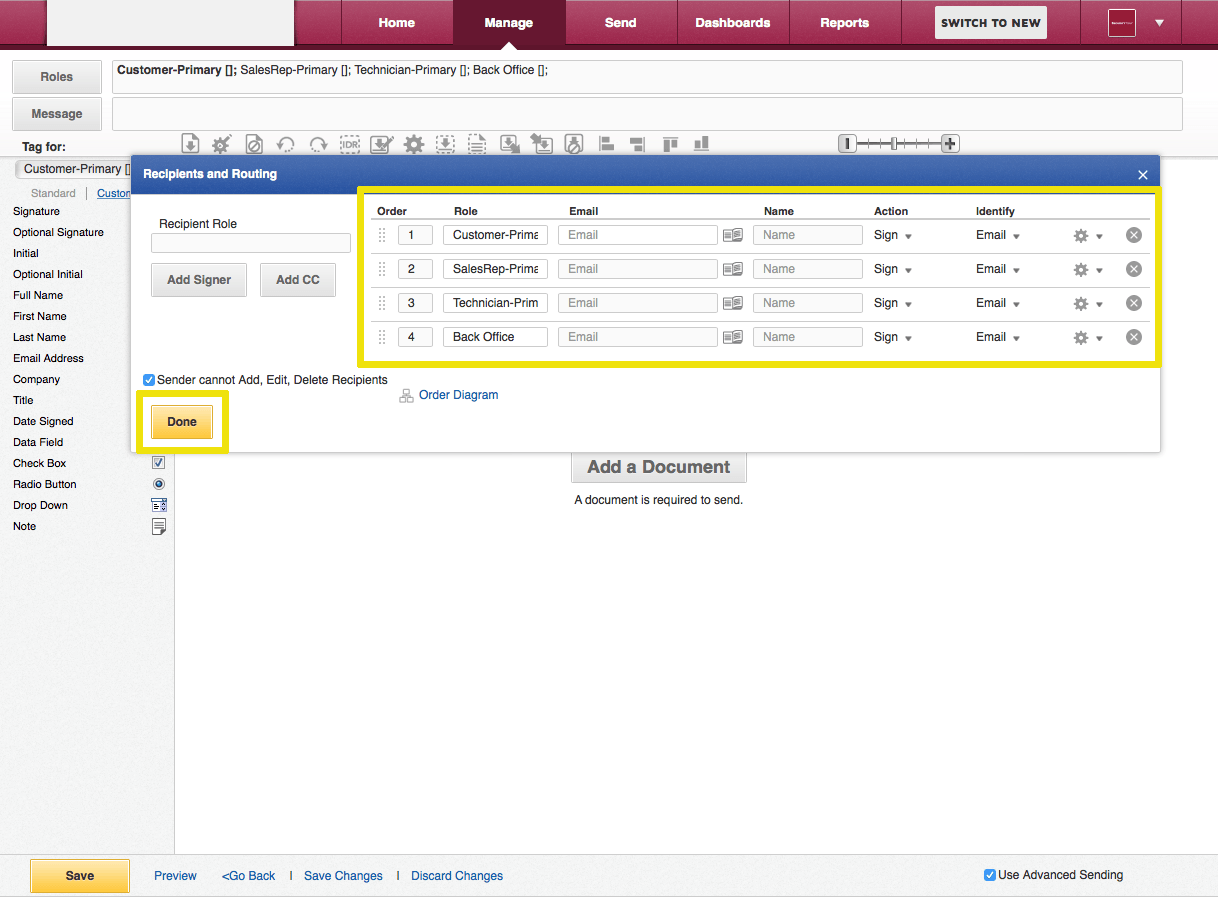
- Enter all of your 'Roles' then click 'Done'
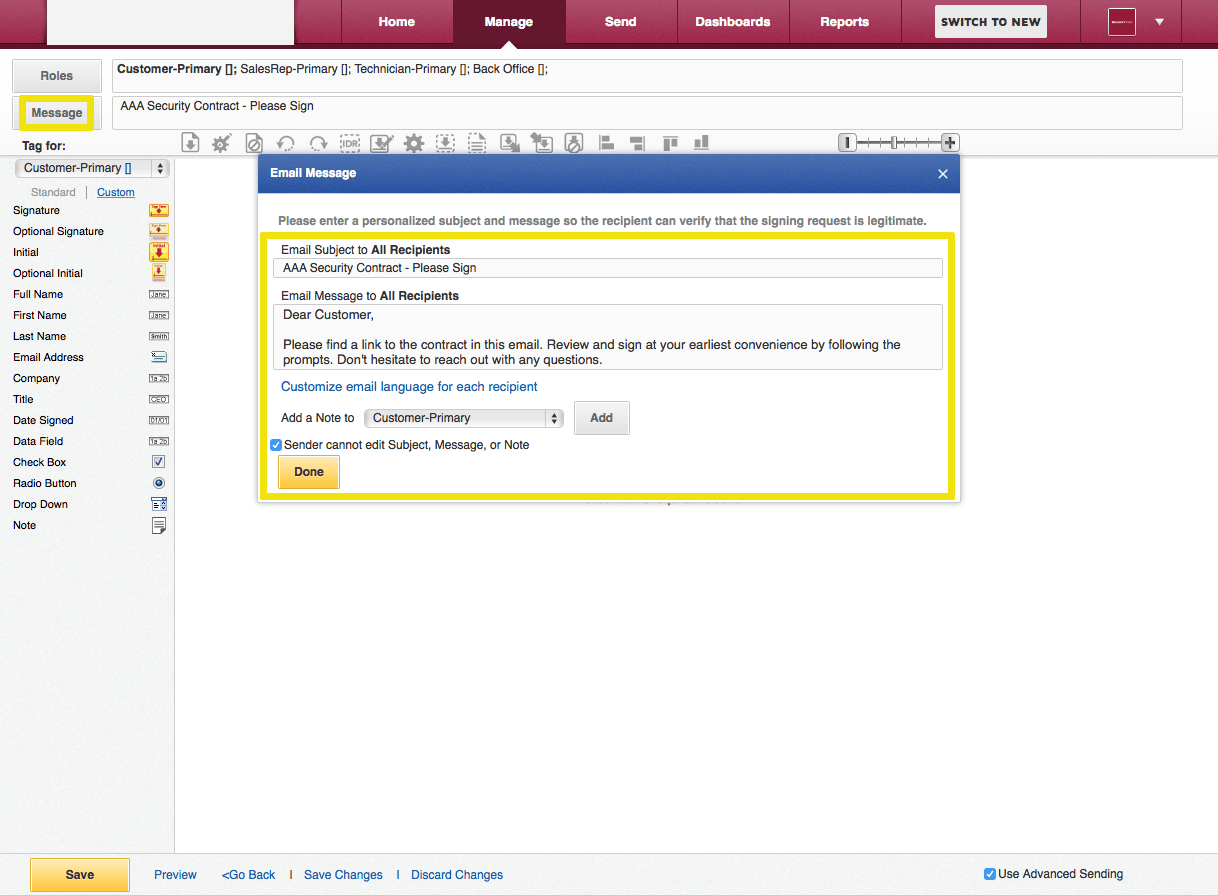
Create a Message
- Create a 'Message' for Customers who choose to have the contract delivered to them via email as opposed to signing within SecurityTrax.
- Click 'Add a Document' then 'Browse' or 'Choose an Online Document', select your contract then click 'Done'
Applying DocuSign Fields Using the NEW DocuSign Interface
You'll now see tools on the left and top, the first page of your contract in the center, and thumbnails of your contract on the right.
- Select the first Recipient in the upper left hand corner and place the appropriate pre-built DocuSign fields (e.g. Signature) onto the applicable pages of your contract.
- Repeat for the remaining Recipients. Remember to select the appropriate Recipient in the upper left hand corner prior to placing fields on the contract.
Applying SecurityTrax Field Names Using the CLASSIC DocuSign Interface
'Enable Data Field Regex' and 'Enable Tag Data Label' are both needed in order to allow SecurityTrax to fill in the contract correctly.
By placing SecurityTrax Field Names on your DocuSign template you'll be telling SecurityTrax where to place specific information.
It's recommended to place the SecurityTrax Fields using one of the Recipients from your company (e.g. SalesRep, Technician, or Back Office if applicable).
- Select one of your Recipients (we'll use SalesRep in our example)
- Place a Data Field on your contract template and click the gear icon to bring up the 'Data Field Tag Properties' settings.
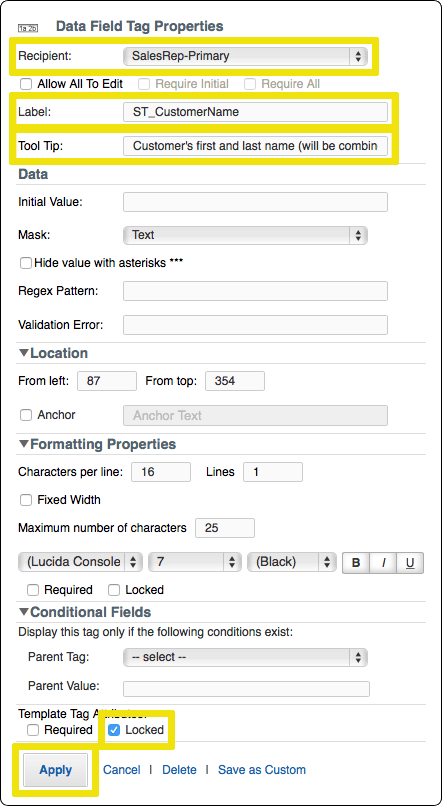
- 'SalesRep-Primary' will be listed in the Recipient drop down since we selected it previously.
- 'Label' is where you type the SecurityTrax Field Name.
- 'Tool Tip' is where a reminder can be placed describing the value of the SecurityTrax Field Name. This field is not required.
- Check the 'Locked' checkbox
- Click 'Apply'
- Repeat the process of placing a Data Field on your contract and clicking the gear icon to bring up the 'Data Field Tag Properties' settings. If you find that you need a SecurityTrax Field Name that isn't available on the list, please submit a SecurityTrax Ticket.
- Click 'SAVE' in the lower left hand corner when you have all Data Fields in place and correctly named.
After adding all Text Fields and applying the correct SecurityTrax Field Names, your contract template is ready to test.
Create a test Customer in SecurityTrax and click on the DocuSign button on the Customer Record. Choose the correct template and click 'Sync' then 'Send'.
If, based upon your review, all of the Fields are filled in correctly, the template is ready for use by your company through SecurityTrax!